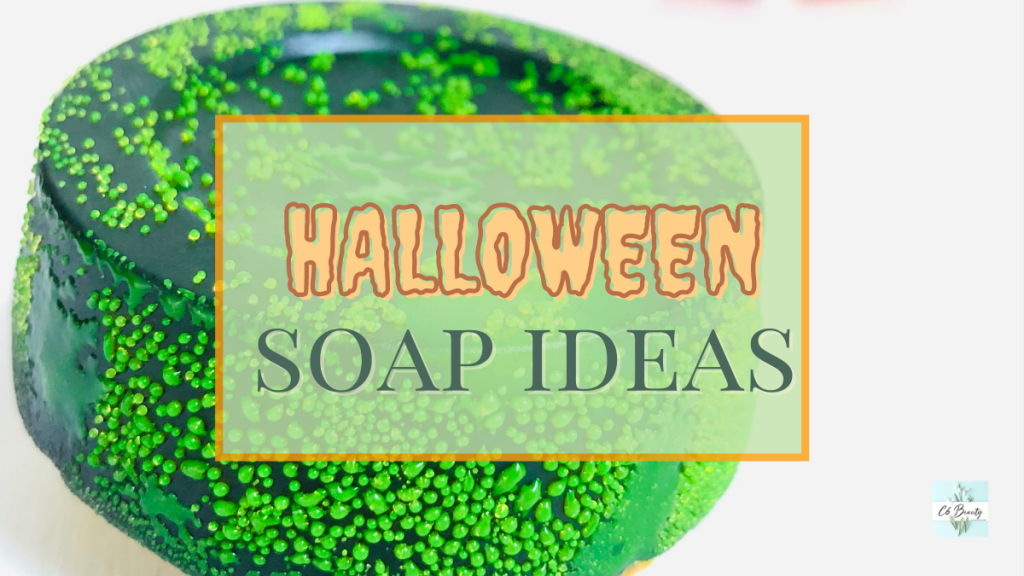
Only a few days to Halloween, why not create something simple, easy, and cheap that can involve children, too? Halloween soap ideas could be a great solution! Creating soap with the “melt and pour” method is a perfect activity to entertain children and make them create something original and useful. For Halloween, I thought of a really simple soap that requires only a couple of ingredients. Let’s see how to prepare a Halloween soap great for children.
Disclosure: Some of the links in this post are affiliate links. By clicking through them and making a purchase, I may receive a small commission WITHOUT any additional cost to you.
Gabi
Before discovering how to make them, take a look at my last mini-course entirely dedicated to the melt and pour technique. Basic information, chemistry concepts, and detailed recipes to master this technique like a pro.


Halloween soap ideas | melt and pour
To create soaps with children, the “melt and pour” technique is the most suitable. Through this technique, it is possible to create soaps without caustic soda but using only a few ingredients and microwave (in addition to the supervision of an adult).
Halloween soap ideas | Ingredients
Let’s see what ingredients we will need
- 50g of glycerin soap base (you can find it here)
- 2g of glycerin soap dye (yellow or alternatively orange) (you can find an option here)
- 2 g of black dye or activated charcoal
- a plastic mold (you can find it here)
As promised, the recipe needs only a few ingredients.
Procedure
To create a soap with the melt and pour technique, we start by cutting the soap base into small pieces, placing them in equal parts in two glass containers.

We add yellow and black dye respectively in the two containers. In case we want to use activated carbon in tablets, it will be enough to reduce them into powder with the help of a rolling pin.

At this point, we dissolve the soap with the microwave (10 sec at 600W) and, once dissolved, we mix to even out the colorants. At this point, we pour the black soap into the mold and then the yellow soap. Let it cool for 24 hours and the soap is ready to be removed from the mold.

Tutorial
Considerations
Although I have been making soap for years, every time I discover something new. For example, in this project, my idea was to create soap in shades of black and orange to be recognizable as Halloween soap. Actually, the dye I used has taken on tones closer to acid green. As the days went by it also “sweated” a little bit creating some magnificent fluorescent green droplets that solidified and gave the soap a 3D look. Maybe it will be a bit different from the initial idea but I still love it! That’s the beauty of do-it-yourself soap production: you imagine a soap and in the end, you get an even better one!
If you want more themed ideas, take a look at how to create Christmas soaps with the melting and pouring technique. Click here!
Ready to make your first soap with my FREE guide to making soap?

If you like my content, help me with a small donation. With your support, I would like to buy new ingredients and create original healthy beauty products! Thank you :).
Gabi

